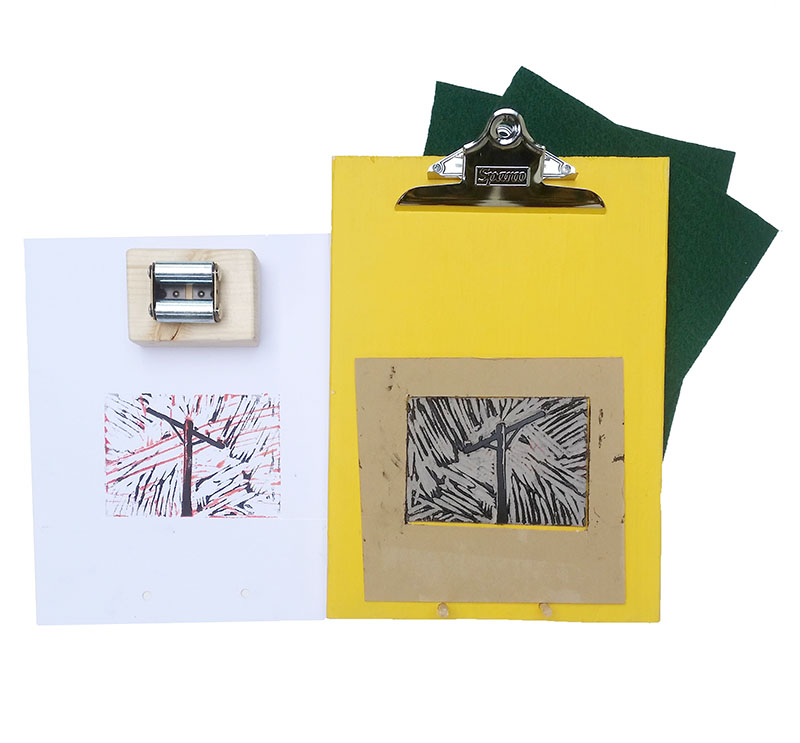
After weeks of contemplation and hours of experimentation, I have created a way for linocutters to print multiple color passes and use dry paper! First, meet the new Magic Platen for Linocut Plates and Multiple Passes! This blog will show you how to press a linocut using this setup. This printmaking press and platen is unique because it has built in registration, and it can also print etchings, monoprints, collagraphs and more.
See those pegs at the bottom? Those are the key. The original Magic Platen can be used for linocuts, but you have to use damp paper or tape down your paper on all sides because dry paper will shift a little while pressing. With this version of the Magic Platen, the built in registration bar keeps the paper from shifting, and it makes registration a cinch because your paper will always lay down in the exact same spot. Just make sure your plates are the exact same size, and mark where you put your plate with tape or a grease pencil.
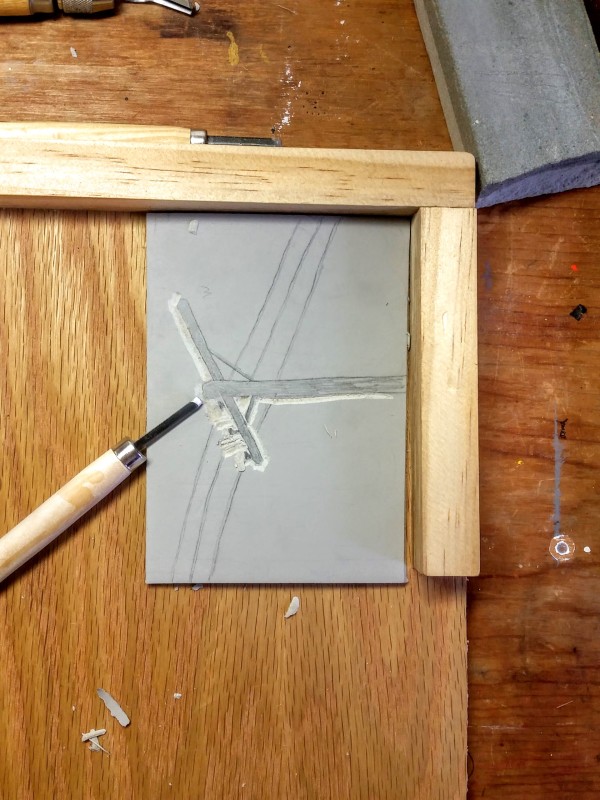
To create the powerline plate, I started with a photograph that I took and some carbon paper. Carbon paper is a must have for every printmaker’s toolbox because it makes it possible to transfer an image without obliterating the original. It also makes it easy to work from photographs. I include a sheet with every linocut kit.
[kad_youtube url=”https://www.youtube.com/watch?v=r-rbvBvZnV8″ ]
You actually can’t even see the pencil lines on the photo, but to really preserve your original image, use something like the other end of a paint brush- something pointed enough, but that has no lead so it won’t leave any marks.
I carved my plate in about 5 minutes with help from my bench hook.
Watch to see how to set up your paper and press a 2 color print using a Pocket Press and Magic Platen:
[kad_youtube url=”https://www.youtube.com/watch?v=wE51C9rs7Xw” ]
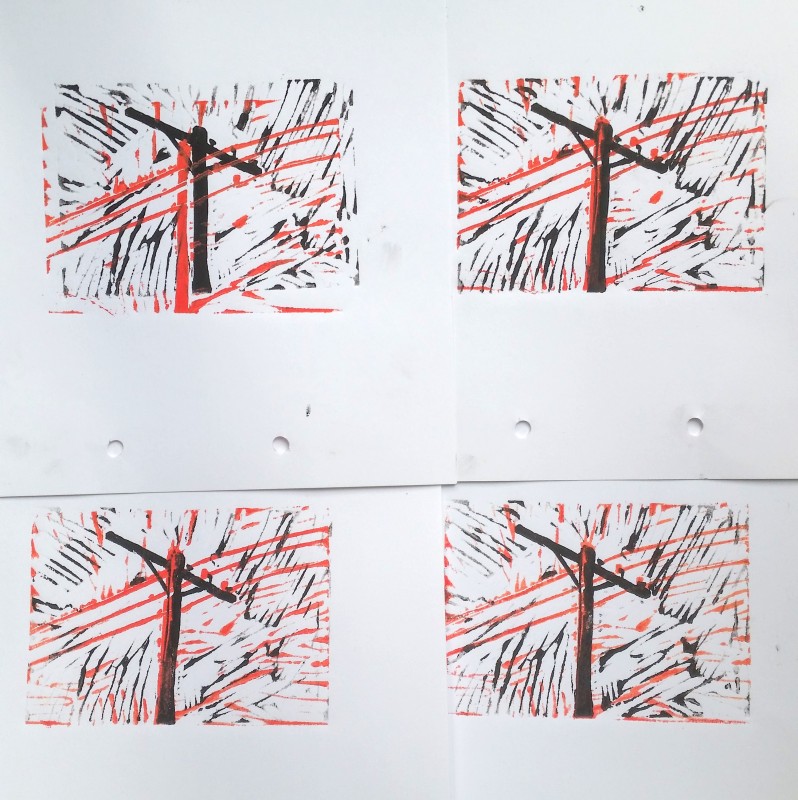
I know that you’re thinking. My registration is off. Yes, I have the opportunity for perfect registration with every print run… but I failed to make sure my plates were the exact same shape. Hey, at least I didn’t carve anything backwards.
Tips on how to press a linocut with this setup:
- I put a small amount of ink on the top of the registration pins so that I can lay my paper on top of them and see where to punch the holes. Remember, slide your paper down the pins first, then clip it at the top.
- Use matboard and create a frame for your plate. This way, the press won’t push the paper down on either side of the plate. If you skip this you will need to make sure you only apply pressure on the plate.
- Be mindful of pressure. It doesn’t take much pressure to transfer linocut images. But really overlap your rows when you print. And only press away from your body, away from the registration pins. I used Akua ink and oil based ink for the 2 color layers in my print. The Akua ink requires barely any pressure to transfer, but the oil based ink is thinner, so I press a little harder.
Like my prints? I sell them on Etsy!
[kad_youtube url=”https://www.youtube.com/watch?v=c0O8CVqKmFg” ]